Prerequisite: ODBC Drivers
To use the Snowflake Data Source, you need to install ODBC driver. If you use Mac with Apple Silicon (M1/M2), you need to install the ODBC driver for architecture macaarch64.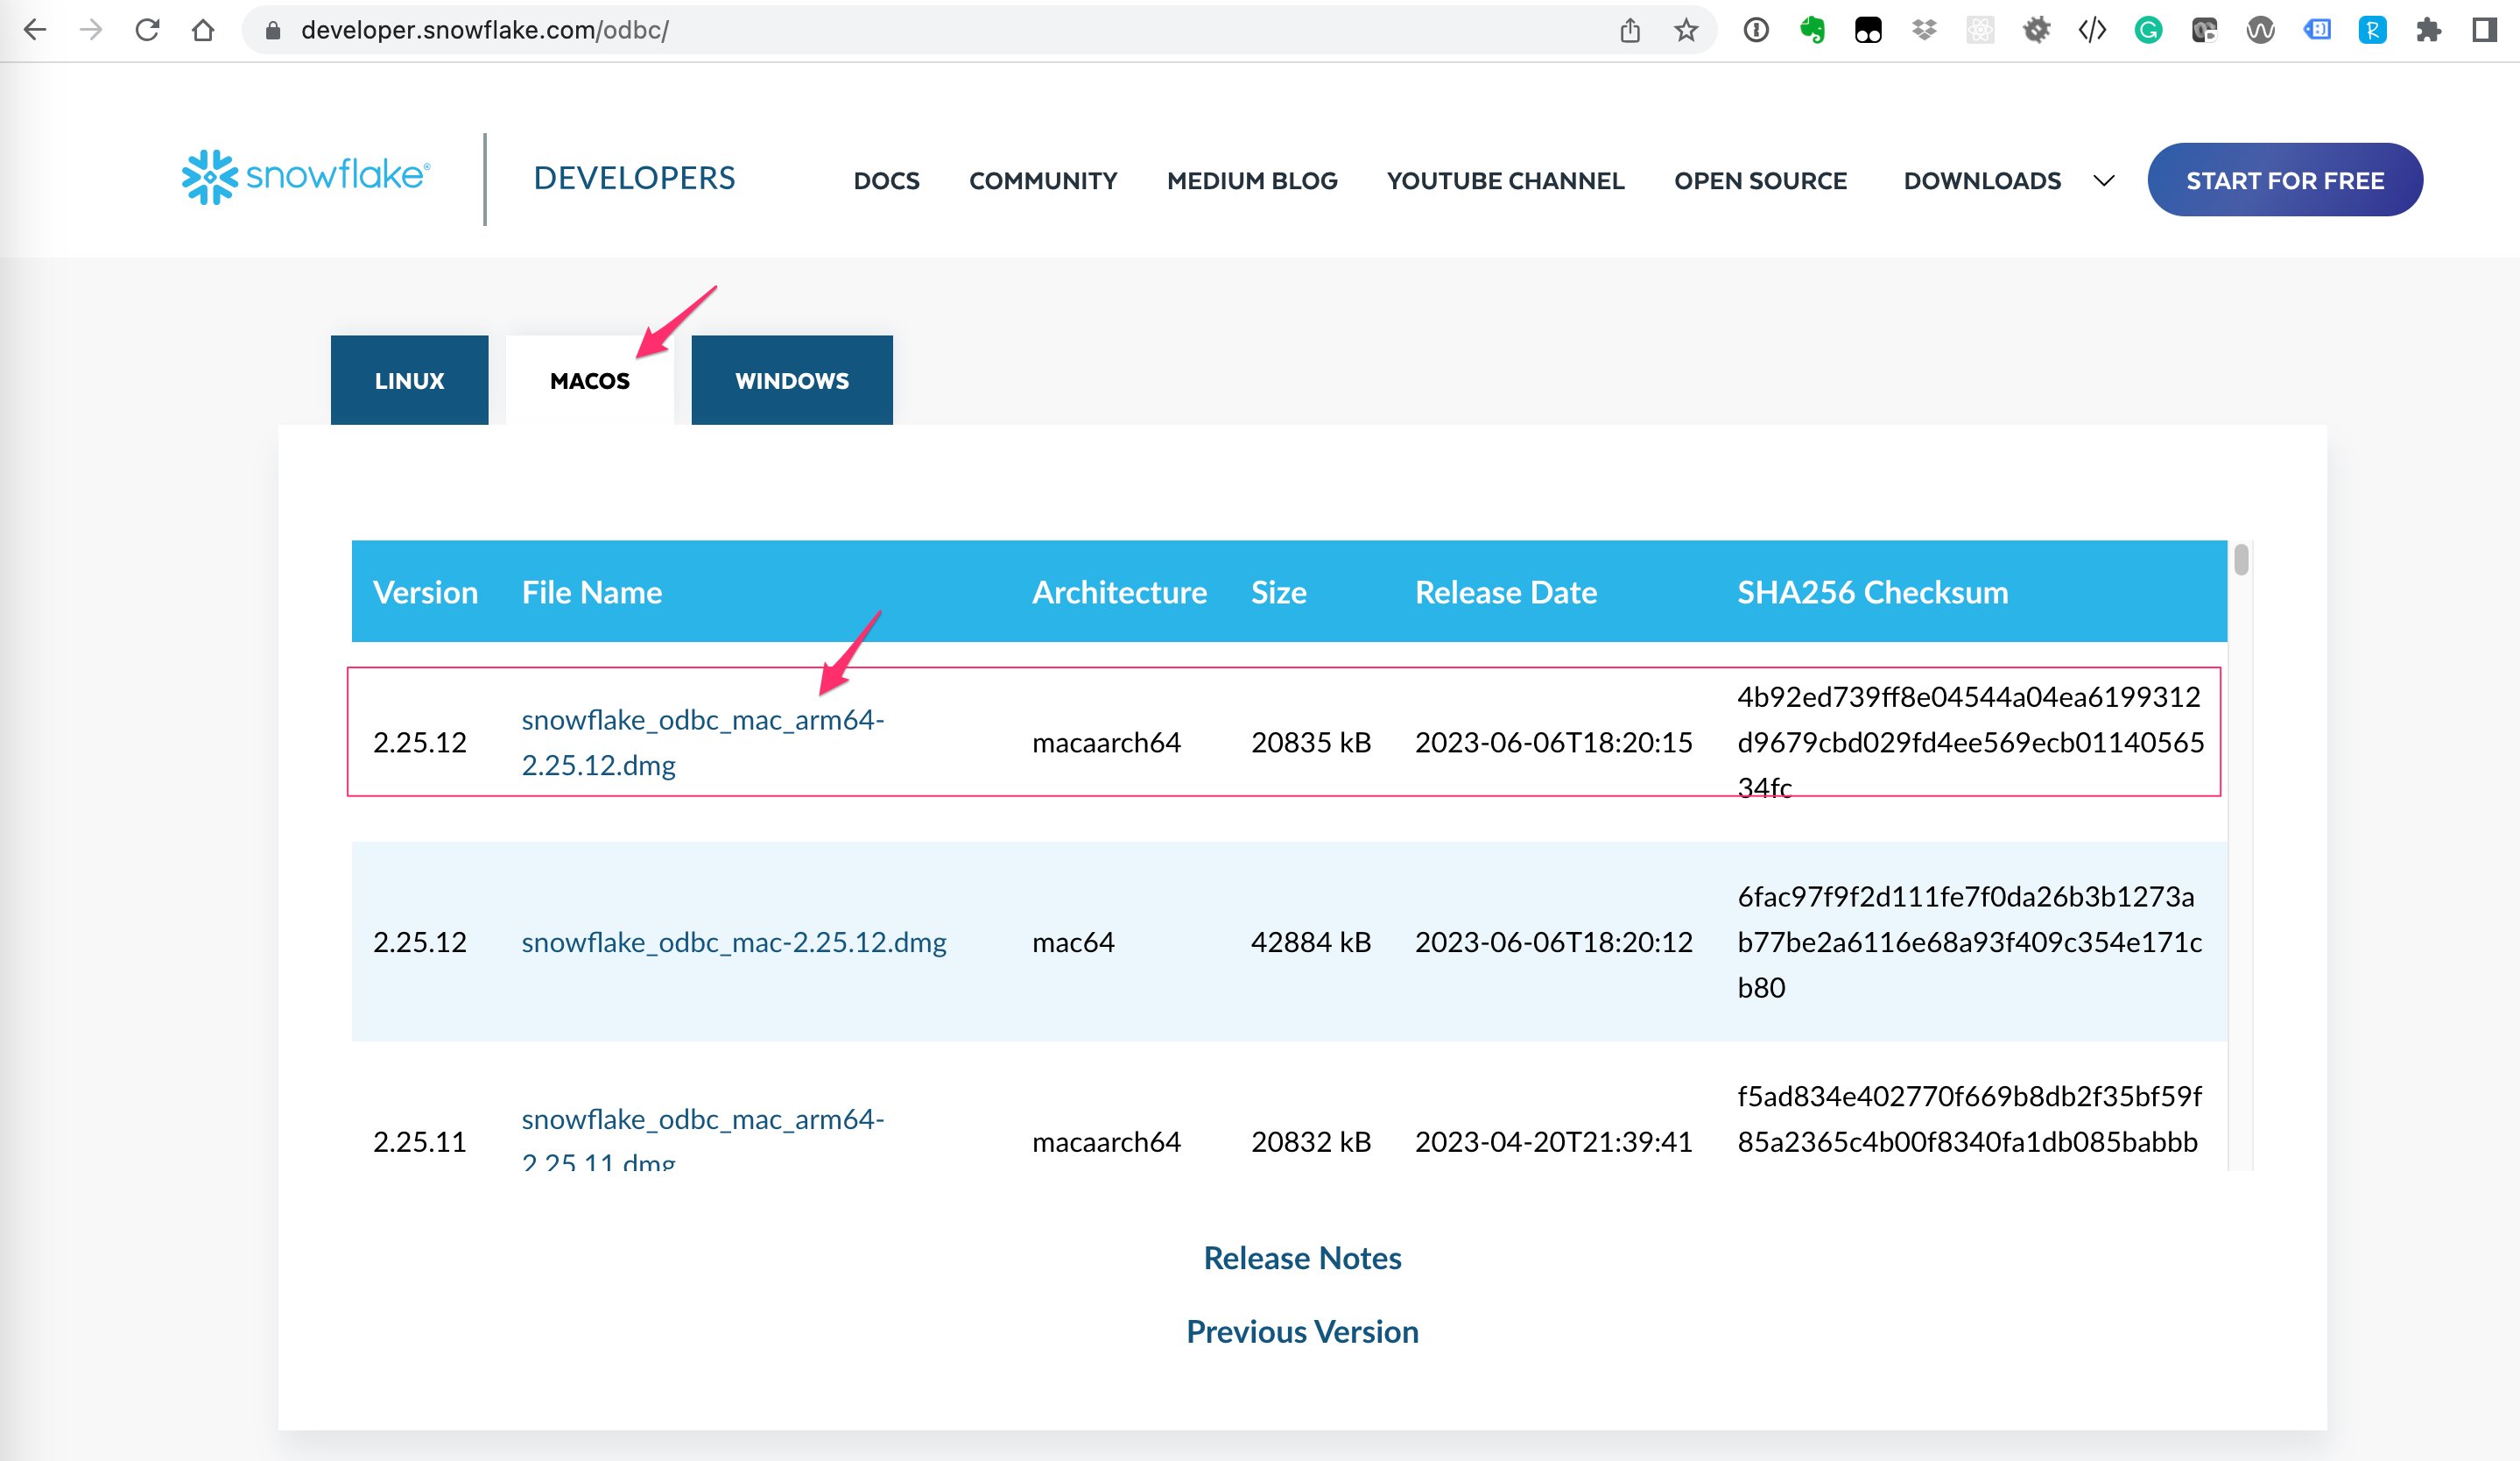
Install ODBC Driver for Windows
To Install ODBC Driver for Snowflake for Windows, please follow the instructionInstall ODBC Driver for Mac
First, you need to install homebrew to manage your packages and you have the necessary admin rights on your machine. Homebrew installation: link- Install unixodbc Install with your shell/terminal:
odbcinst command from Terminal. And if you try odbcinst -j, you can know the location of driver registration file (odbcinst.ini) like below.
/opt/snowflake/snowflakeodbc/lib/universal/simba.snowflake.ini
For Mac with Apple Silicon (M1/M2), the location is /opt/snowflake/snowflakeodbc/lib/simba.snowflake.ini
Make sure that unixODBC section points to the libodbcinst.dylib file which is installed with homebrew.
Please note the location of the libodbcinst.dylib varies per installation.
/opt/homebrew/lib/libodbcinst.dylib by default.
1. Create a connection for Snowflake
First, you want to create a connection for Snowflake.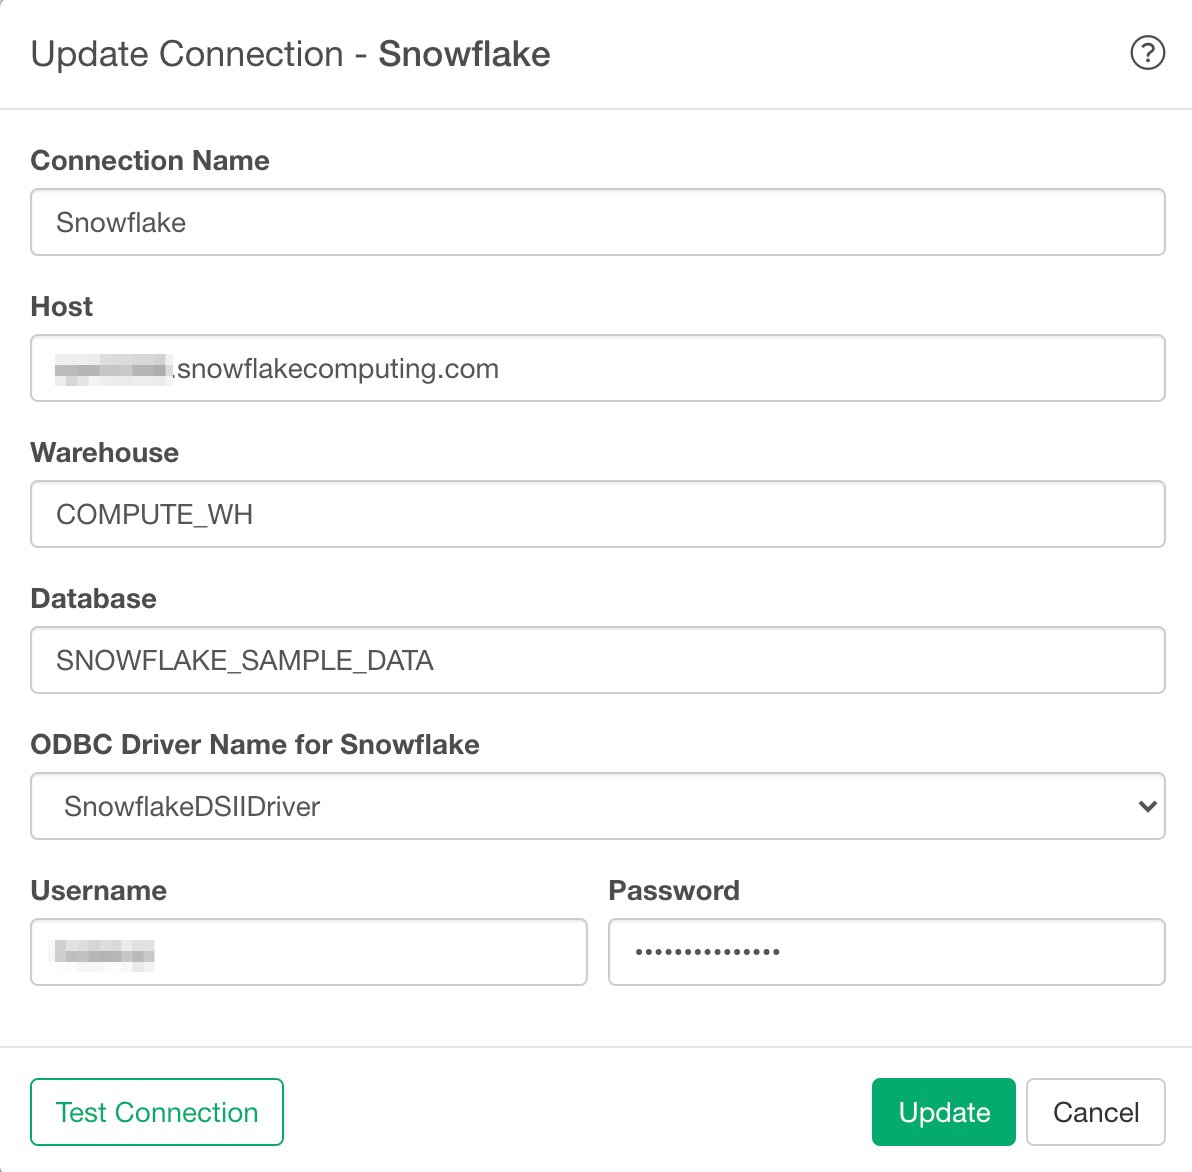
- Host - Snowflake server
- Warehouse - Warehouse Name
- Database - Database Name
- ODBC Driver Name for Snowflake - It shows list of installed drivers. Regardless of the driver selected here, when you publish a Data source that uses the connection, “/usr/lib64/snowflake/odbc/lib/libSnowflake.so” is used for Scheduling. (Both exploratory.io and Collaboration Server have /usr/lib64/snowflake/odbc/lib/libSnowflake.so)
- Username - Username of the Snowflake
- Password - Password of the Snowflake
2. Open Snowflake Import dialog
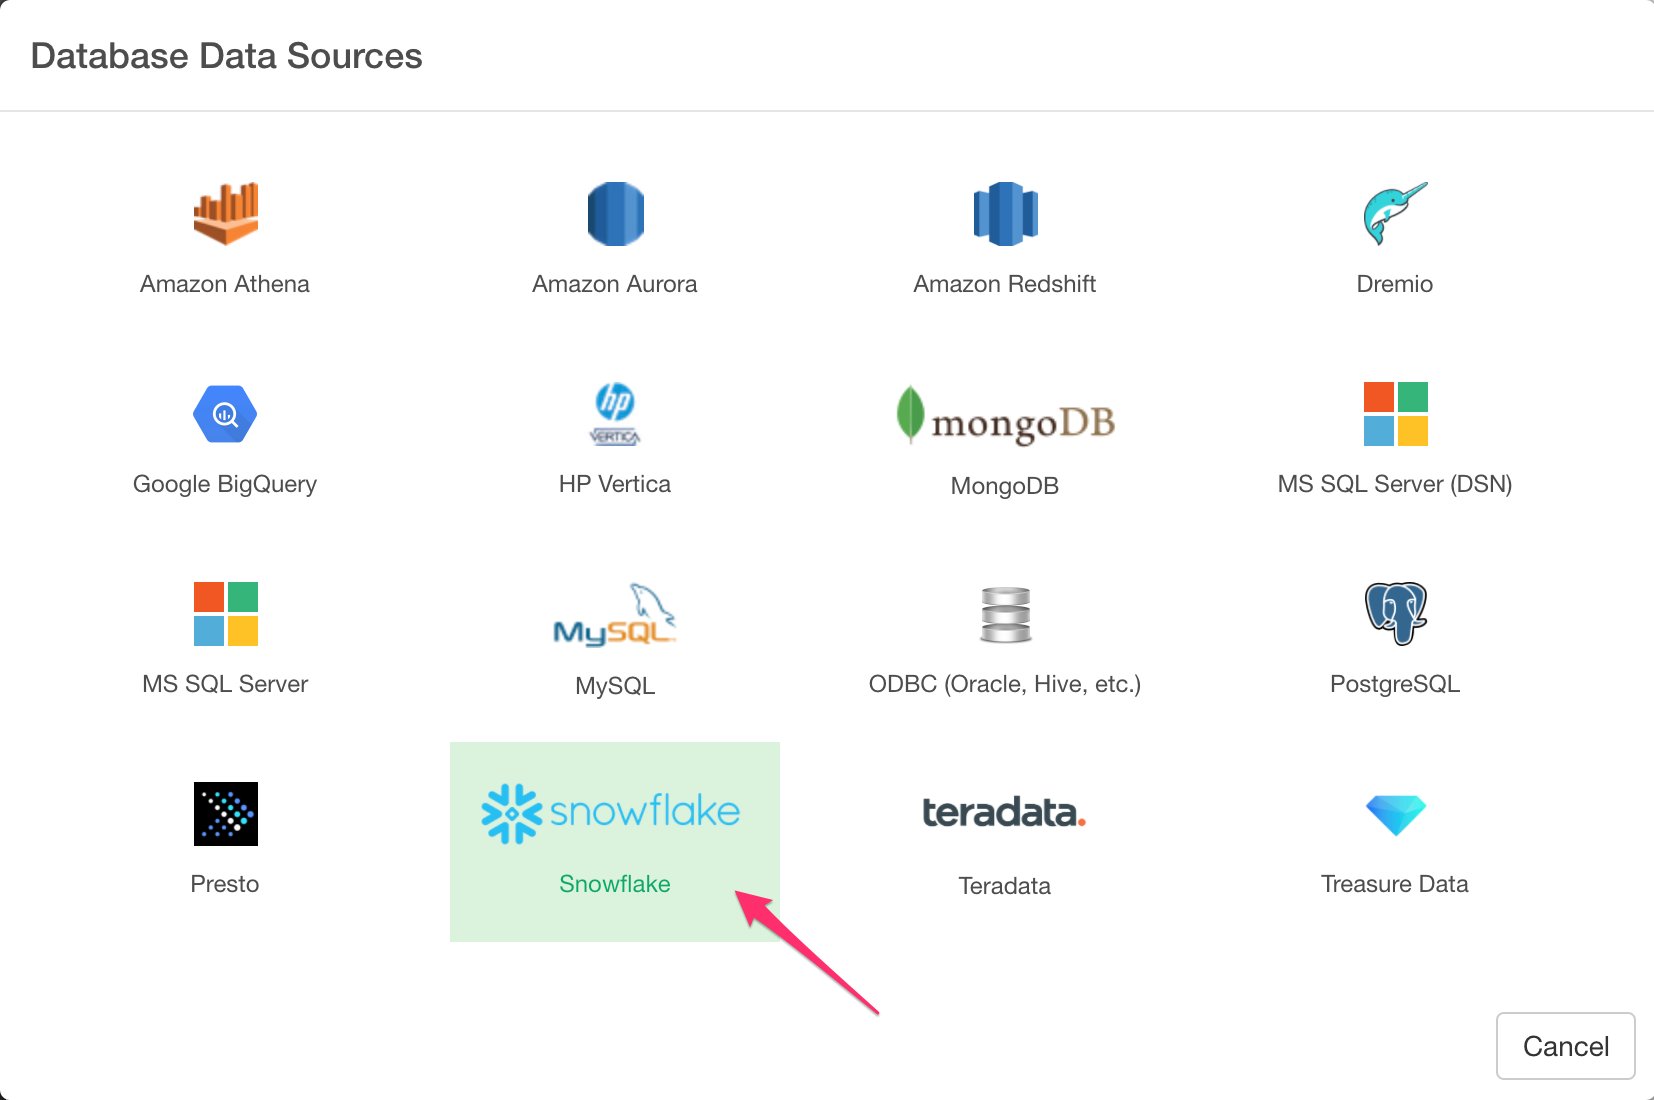
Select ‘Import Database Data’ from Add New Data Frame menu.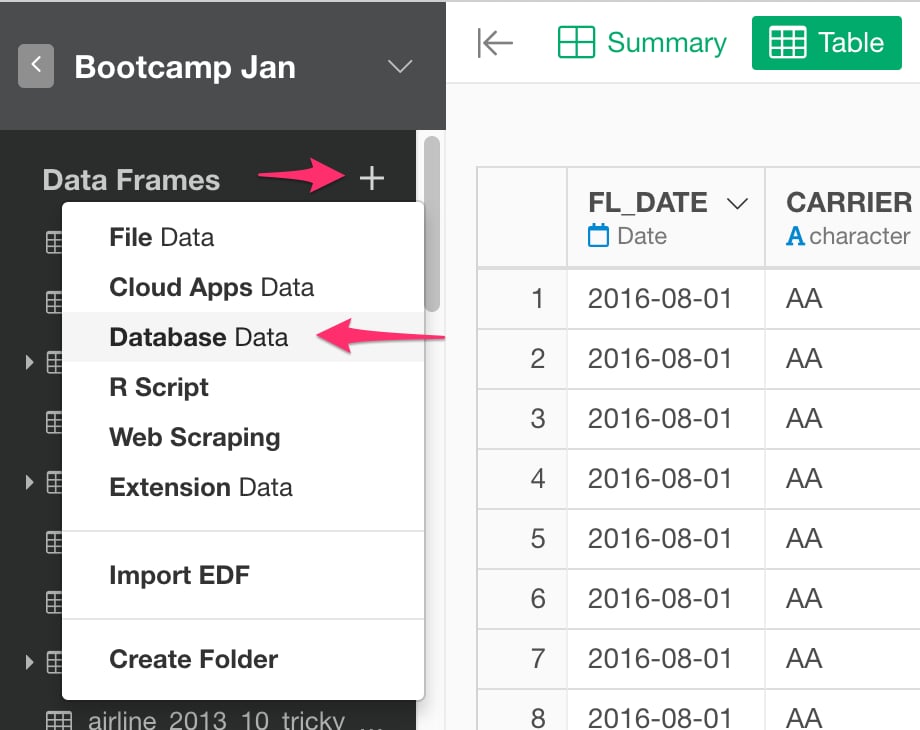
3. Preview and Import
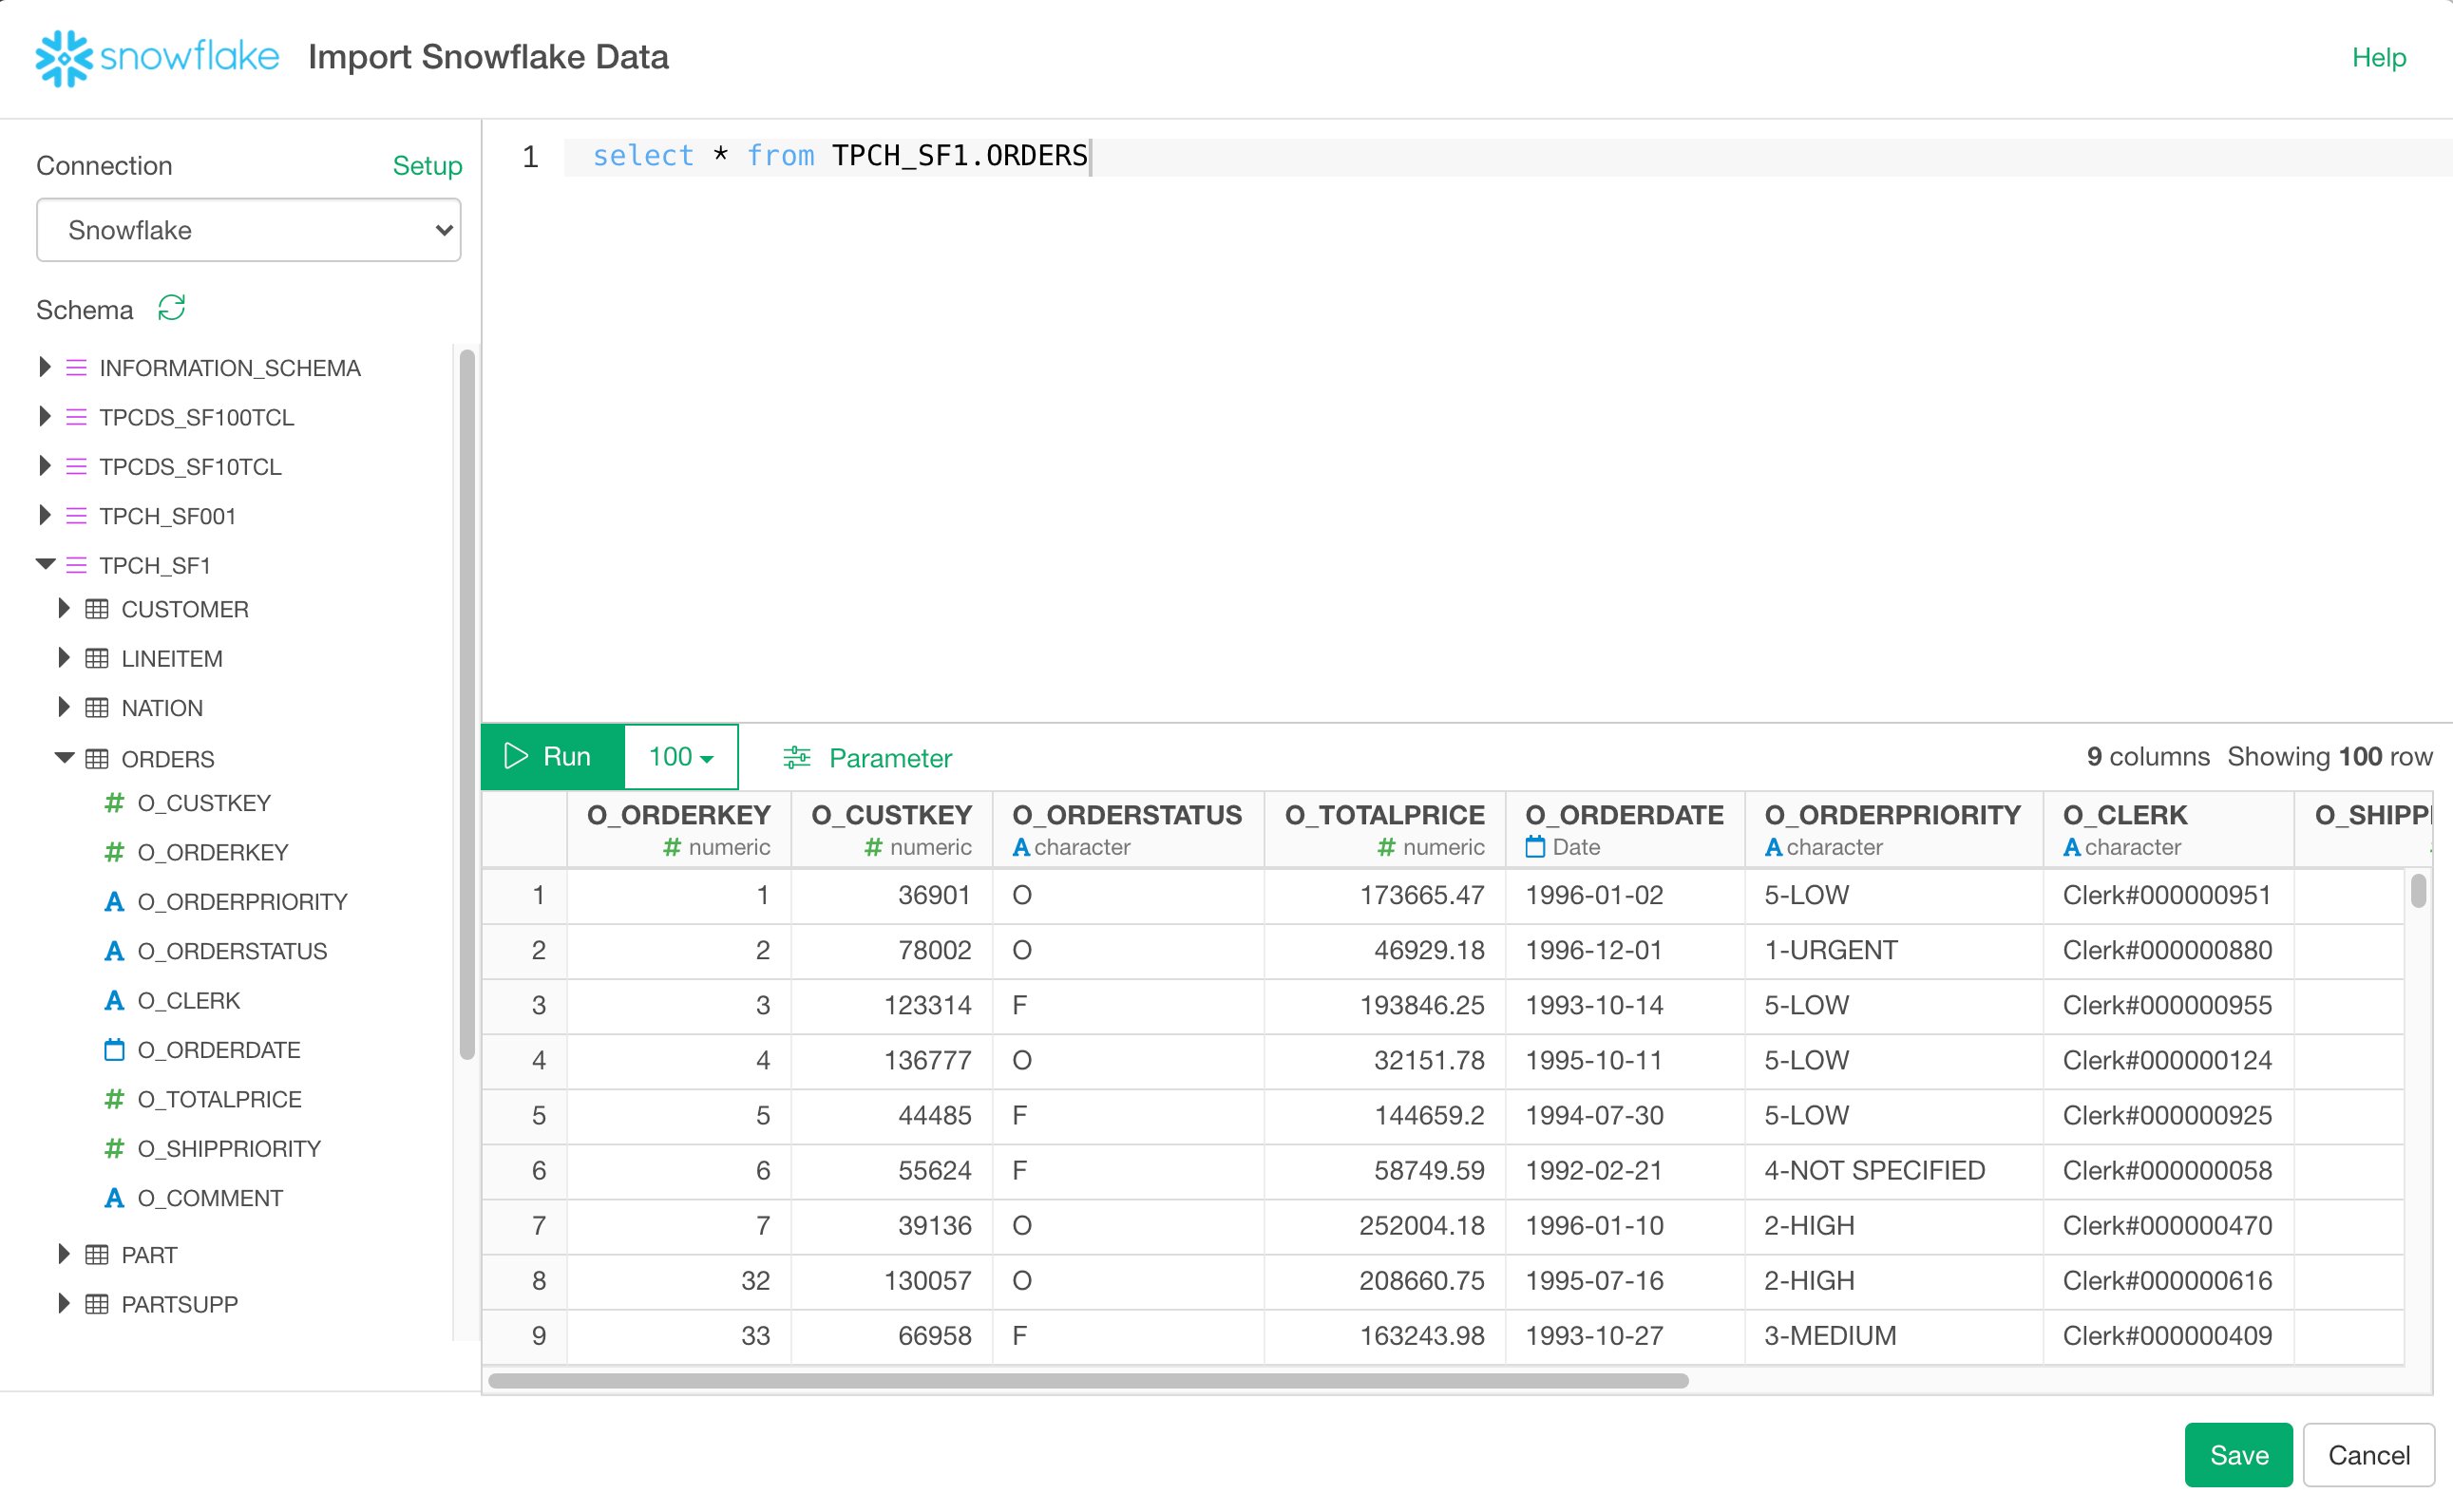
Click “Run” button to see the data back from Snowflake.