Data Source Extension Overview
A user-defined data source extension consists of JSON format extension definition meta file (extension.json) and R script file (extension.r).
These two files need to be stored inside a zip file as follows.
File name: <extension_name>.zip
Content of the zip file:
<extension_name>/extension.json
<extension_name>/scripts/extension.r
Data Source Extensions can be installed in Exploratory though UI, enabling Exploratory access to the additional data sources.
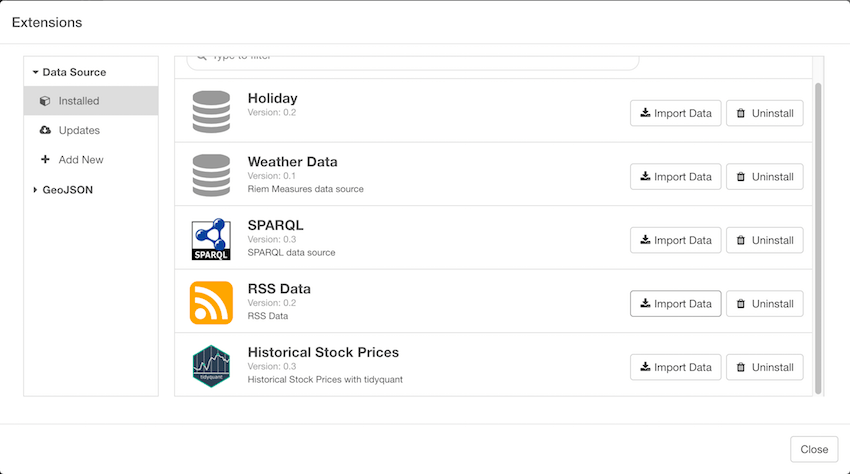
Here are examples of Data Source Extension.
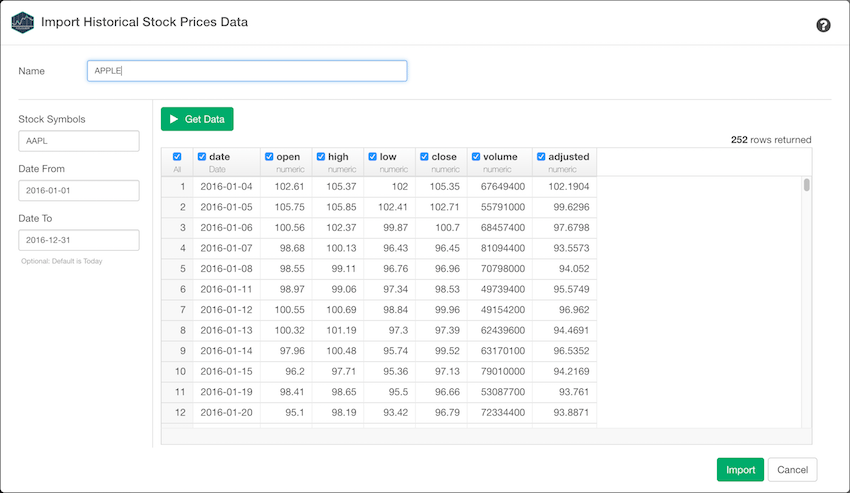
- tidyquant Data Source (Financial Data)
- riem_measures Data Source (Weather Data)
- SPARQL Data Source (RDF Data)
How to create Data Source Extension
So let’s say you want to create a data source extension that uses tidyquant R package to get Stocks data. Following is the step-by-step tutorial of creating such a data source extension, named tidyquant_example.Create Data Source Extension directory structure
First create a directory calledtidyquant_example, and scripts directory below it. NOTE: The directory name is the data source extension name and should be unique among user-defined data source extensions.
So on Mac, you can do:
Create Data Source Extension R script
Create aextension.r with following content. This is defining a function execute_tidyquant, which gets stock prices data through tq_get function of tidyquant package.
tq_get function of tidyquant), use explicit namespace like tidyquant::tq_get.
This makes sure that your function gets access to the package function when used inside Exploratory.
Place the extension.r under tidyquant_example/scripts.
Create Data Source Extension Definition File
This is how your Data Source Extension Definition File (extension.json) looks like. The file must be in valid JSON format.
extension.json under tidyquant_example directory.
Attributes of Data Source Extension Definition File
name (required)
name attribute holds Name of the data source extension. in this case my_riem_measures, please make sure to use your directory name for this name attribute.
displayName (required)
displayName attribute is used for Display Name on Data Source Extension Picker Dialog and Import Data Dialog.
iconURL (required)
iconURL holds icon image file URL for your data source extension. currently it only supports external URL.
For example:
iconWidth and iconHeight are set to 32px by default to fit icon in the UI. If you want to change it for some reason, you can change these by specifying following attributes.
helpURL (required)
helpURL holds URL for your data source extension help page. Help Link is put on Import Dialog Header.
If you do not have one, you can set default exploratory doc link like below:
packages (optional)
packages is an array of package name and version pairs that the data source extension depends. For example, if you data source extension depends on tidyquant you need to set it like below:
function (required)
function holds R function name that the data source extension calls to get data. The R function must return a data frame as output. In this example, you’ll call riem_measures from riem package.
rSourceFile (required)
rSourceFile holds the name of R script file that the data source extension depends. Let’s use extension.r for this example.
hasQueryField (optional)
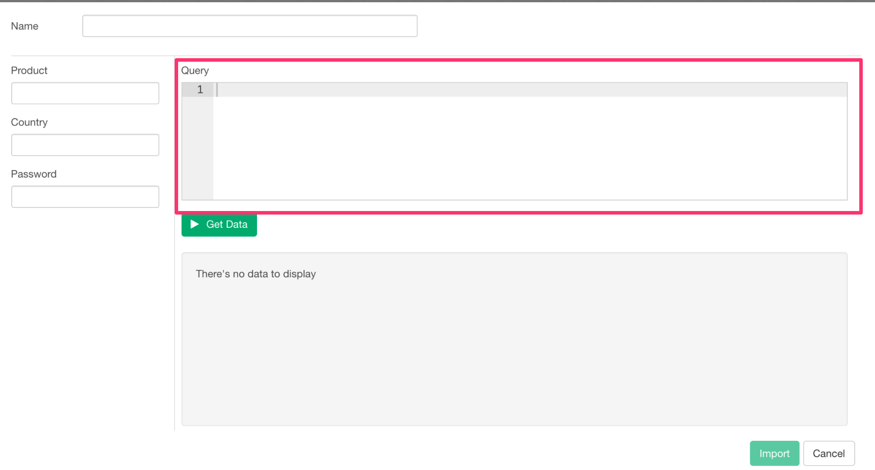
If you want to have a dedicated query input field that has much more space for your query string, SethasQueryField as true and add a parameter whose name is query and dataType is text.
For example, if you define following in your extension.json
version (required)
Version of your data source extension.inputParameters
inputParameters is an array of parameters passed to the function (i.e in this case, execute_tidyquant) and these are rendered as input fields on Data Import Dialog. Parameter order matters. Make sure to set input parameters in a way that underlying R function expects. For example, if your R function has arguments stocks and from, then you need to define your inputParameters in this order.(i.e stocks, then, from).
If you prefer named parameter, you can set withName as true. By setting it true, this argument is used with its name as key in R function. For example, if you have withSentiment parameter and set withName as true,
- name
- displayName
- colSpan
- dataType
- showLabel
- defaultValue
- withName
- isStringArray
- placeholder
- required
name (required)
name of the input parameter.
displayName (required)
displayName attribute is used for Parameter Display Name on Import Data Dialog.
dataType (required)
dataType attribute holds a type of the input parameter. Supported types are:
- text
- select
- lov
- number
- boolean
text
If you usetext, it becomes input field that accepts characters.
select
This is useful when you want to create a static single value selector. For example, if you want to create a time range selector, you can create it by specifyingoptions and itemDataType like below. options is an array of selector options and each option needs to have label and value attributes. If your option value is text, itemDataType should be set as text. If your option value is number, itemDataType should be number. Date is not supported for itemDataType for now. To set default selection, you can set your default value to defaultValue attribute. If you want to pass NULL to underlying R function, set value as null in your JSON file.
lov
This is useful when you want to create a static multi-select List of Values. For example, if you want to create a Stock Symbols List of Values, you can create it by specifyinglistOfValues like below. listOfValues is an array of list of values option and each option needs to have name and displayName attributes.
number
If you usenumber, it becomes input field that accepts numeric value.
boolean
If you useboolean, you can define a list of values with two values (i.e. true/false)
defaultValue
If the parameter needs default value, you can set it throughdefaultValue attribute.
withName
Settrue if you want to make this argument as “named” parameter. See inputParameter for details.
isStringArray
If you want to support R character vector parameters like c(“a”, “b”, “c”), you can setisStringArray as true. In this case, user enters comma(,) separated values in a input field and Data Source Extension Framework convert it to c("a", "b", "c") fashion.
placeholder
If you want to set some description in the input field, you can useplaceholder attribute. For example, if you want your user to type in multiple values with comma(,) separated way, then you can define placeholder attribute to the input parameter.
required
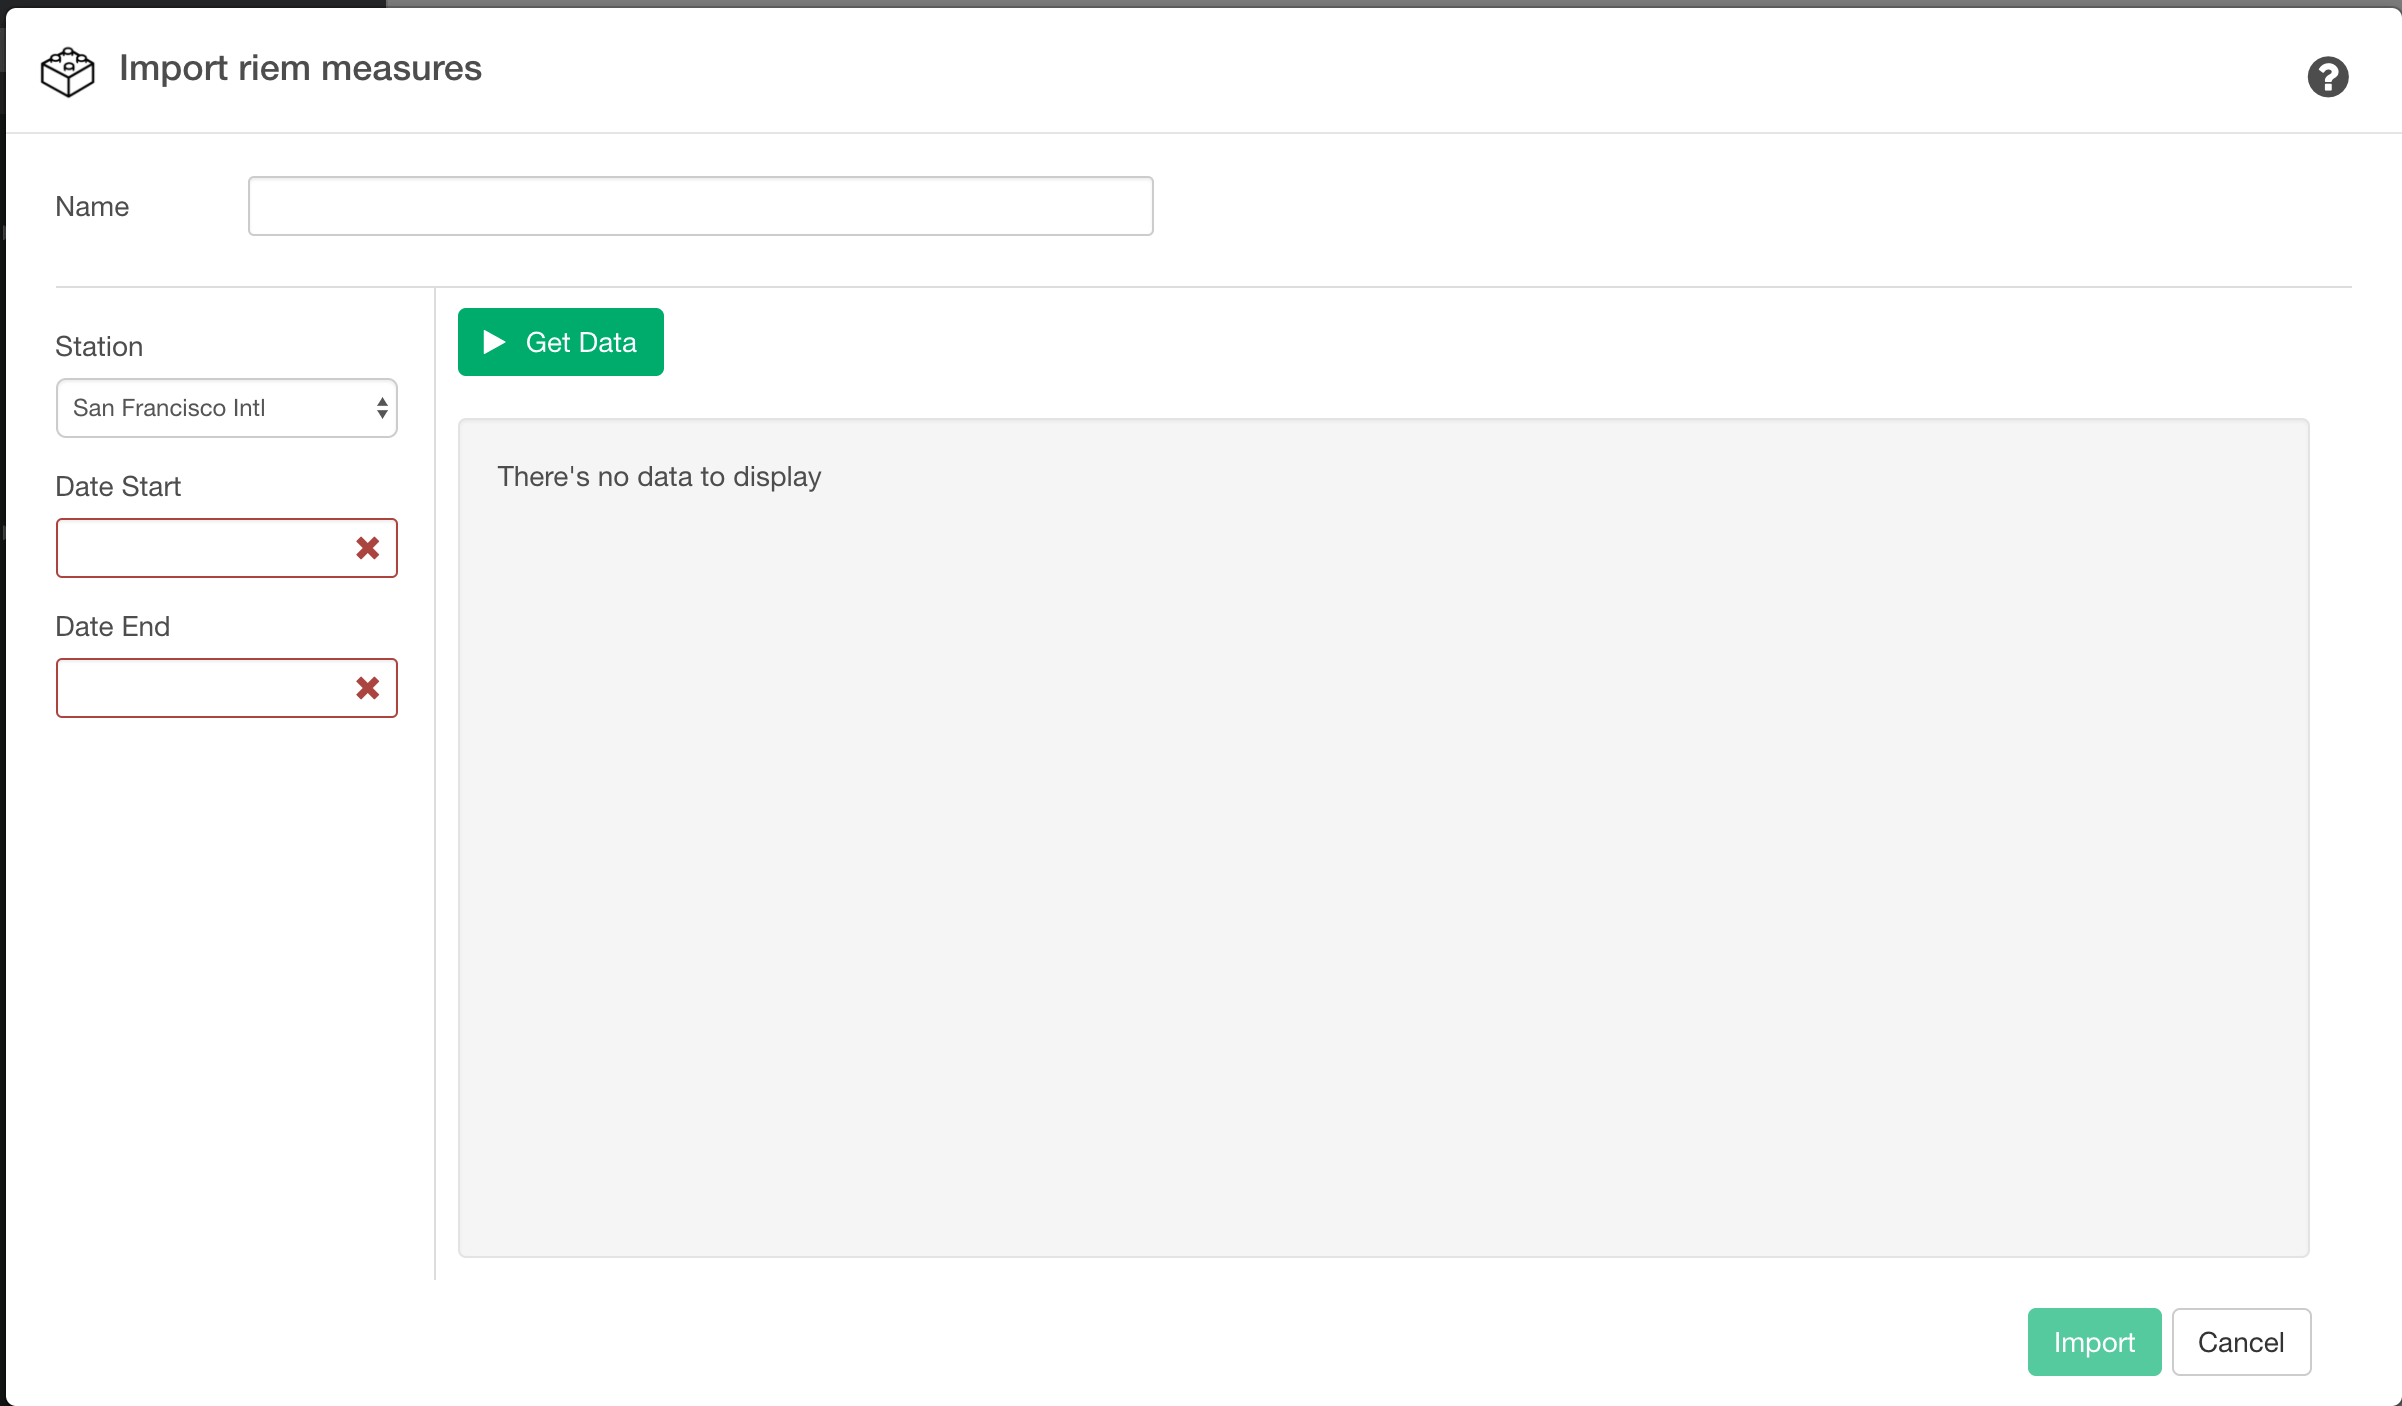
If you want to make a parameter as mandatory parameter, set therequired attribute as true. By setting this to true, you can force users to enter values for these parameters and if a user clicks Get Data button without filling these parameters, he/she gets following error on Import Dialog.
Compress the Directory Structure to create Data Source Plugin file
Now we have R source file and Data Source Plugin Metadata file under tidyquant_example directory. Compress it into a zip file to create a Data Source Plugin Filetidyquant_example.zip.
How to install
Once you created your data source extension zip file, you can install it into Exploratory through UI. Go to Project and select project header menu.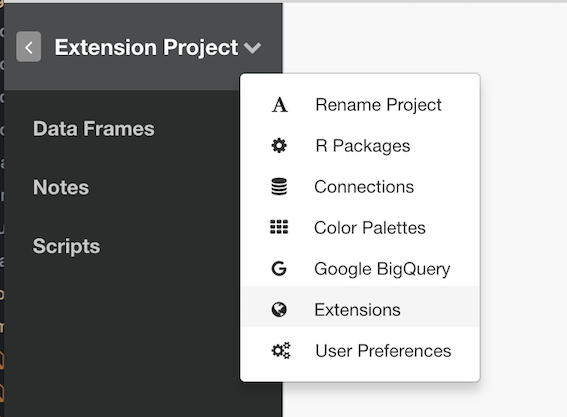
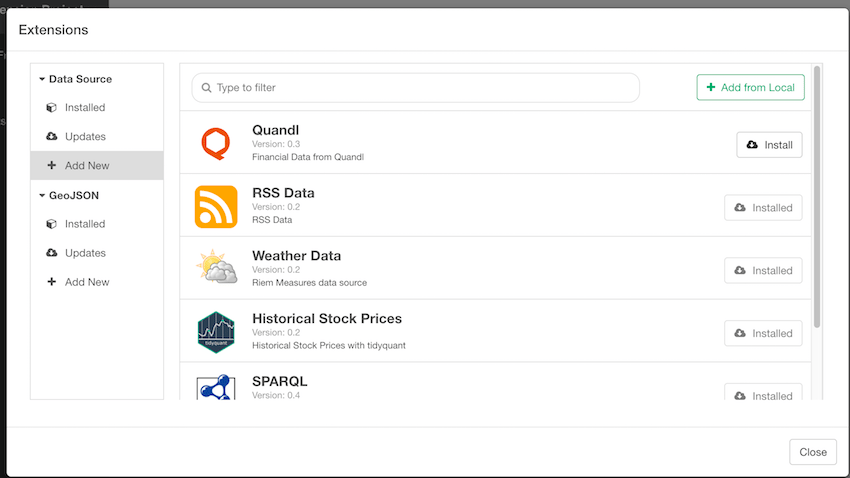
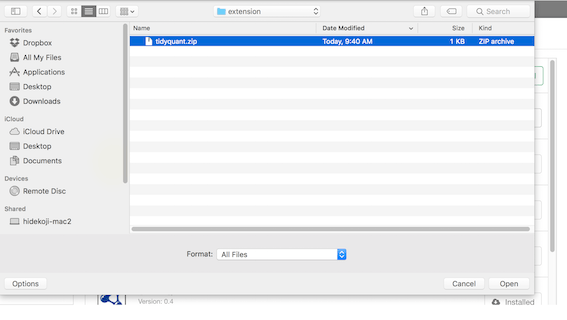
How to use
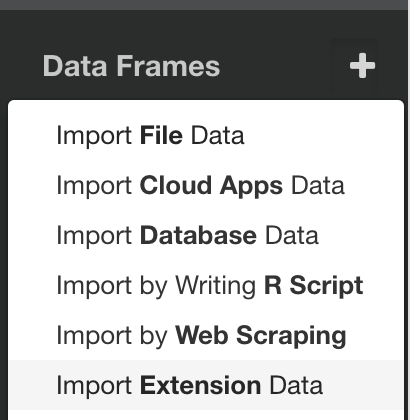
After installing your data source extension, you can test it by selectingImport Extension Data after clicking + (plus) icon next to Data Frames.
Historical Stock Prices