
1. Select MailChimp Data Menu
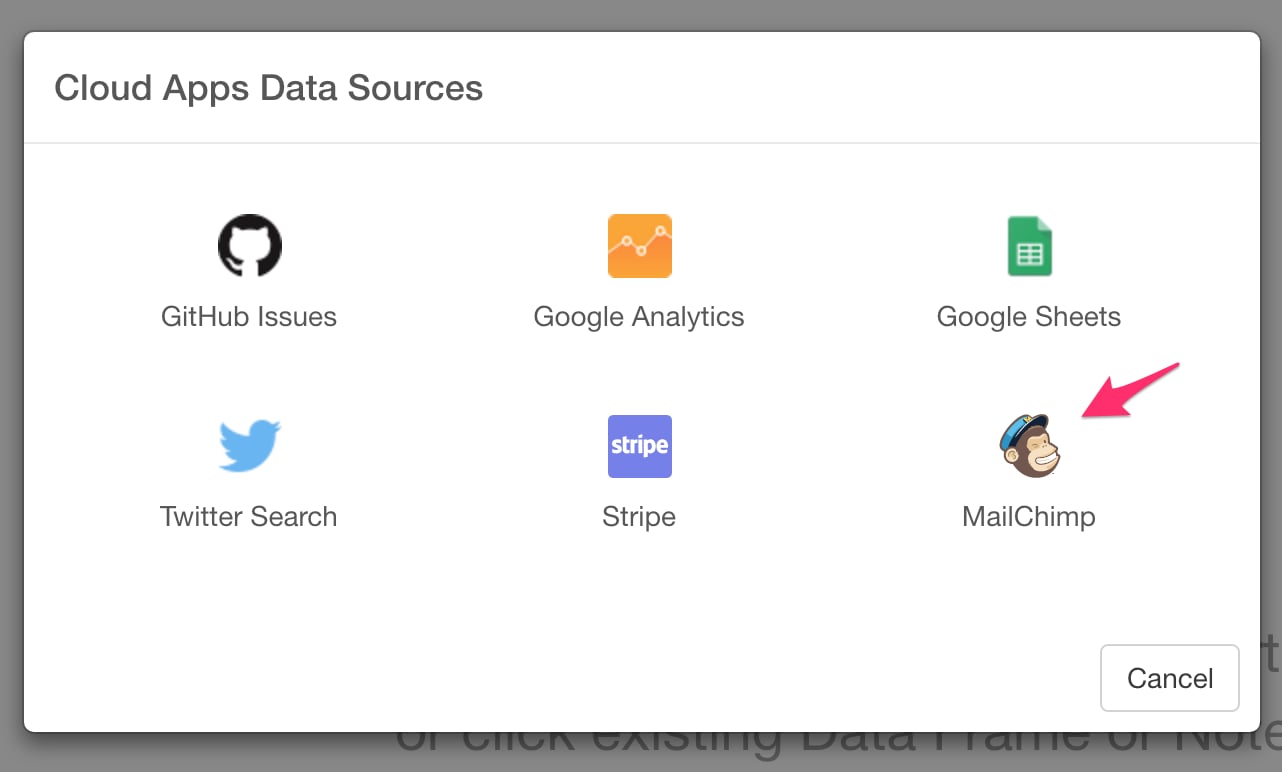
Click ’+’ button next to ‘Data Frames’ and select ‘Import Cloud Apps Data’.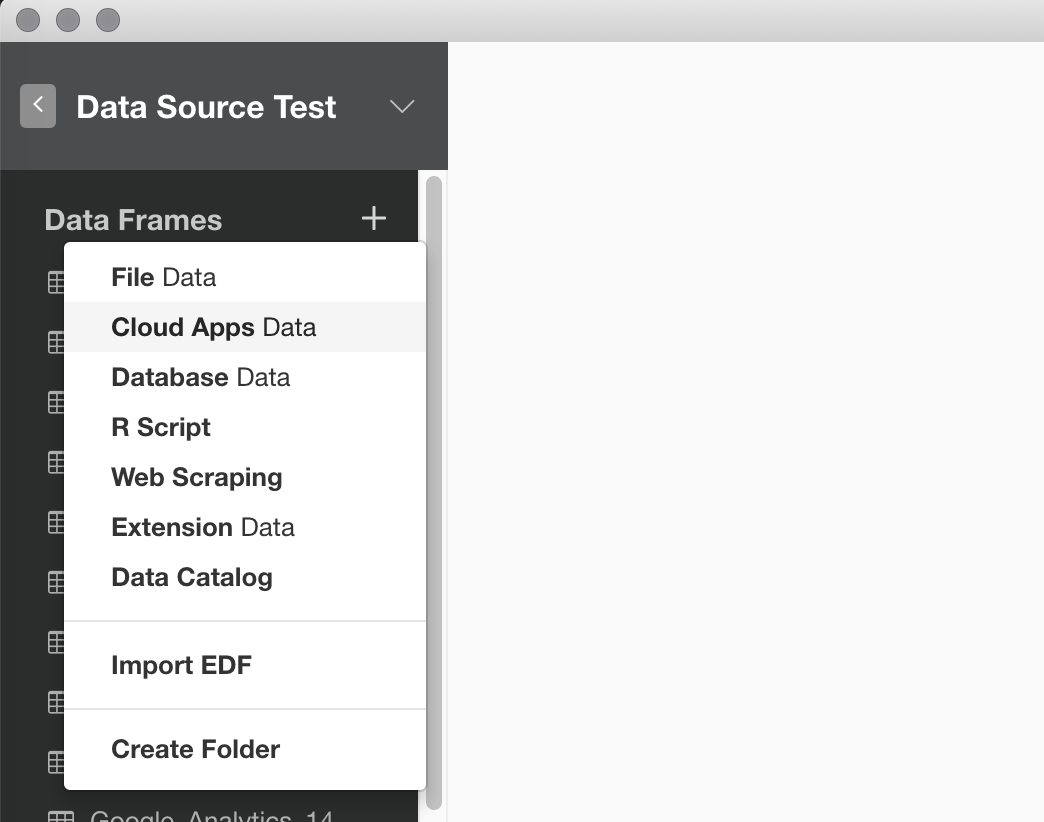
2. OAuth Setting
Create a connection following this instruction.3. Input parameters
Set these parameters.- Data Type - Select a type of MailChimp data set.
- Members - Get members and all of their associated details.
- Subscriber Activities - Get all Subscriber Activity.
- Authorized Apps - Get registered, connected apps for your MailChimp account with the Authorized Apps endpoints.
- Automations - Get a summary of an account’s Automations. Automation is a paid feature that lets you build a series of triggered emails that are sent to subscribers over a set period of time.
- Batches - Get a summary of batch requests that have been made.
- Batch Webhooks - Get all webhooks that have been configured for batches.
- Campaign Folders - Get all folders used to organize campaigns.
- Campaigns - Get all campaigns in an account.
- E-commerce Stores - Get information about all stores in the account.
- File Manager Files - Get a list of available images and files stored in the File Manager for the account.
- File Manager Folders - Get a list of all folders in the File Manager.
- Lists - Get information about all lists in the account.
- Reports - Get campaign reports.
- Template Folders - Get all folders used to organize templates.
- Date Range - Select a type of date filtering. If you choose ‘After This Date’, you can indicate explicit date like ‘2015-11-03’ in ‘Value for Date Range’. If you choose ‘Last N ~’, you can indicate a positive integer in ‘Value for Date Range’ and data is filtered by the number with the time unit in the option.
- Value for Date Range - If this is empty, all data is imported. If ‘Date Range’ is ‘After This Date’, this should be explicit date like ‘2015-11-03’. If ‘Date Range’ is ‘Last N ~’, this should be a positive integer.